One of the best features of macOS is the ability to multitask efficiently with the Split Screen function.
Splitting your screen can help you stay productive by allowing you to view and interact with two applications side-by-side.
A Guide: How to Split Screen on a Mac
Step 1: Download PDF Reader Pro
Get the latest version of our software for Mac or Windows by clicking the correct button below:
Step 2: Open Your Document
Click "Open File" or drag and drop it into the Home interface.
Step 3: Click "Page Display"
Find the "eye" icon on the top right and the panel on the right will open.
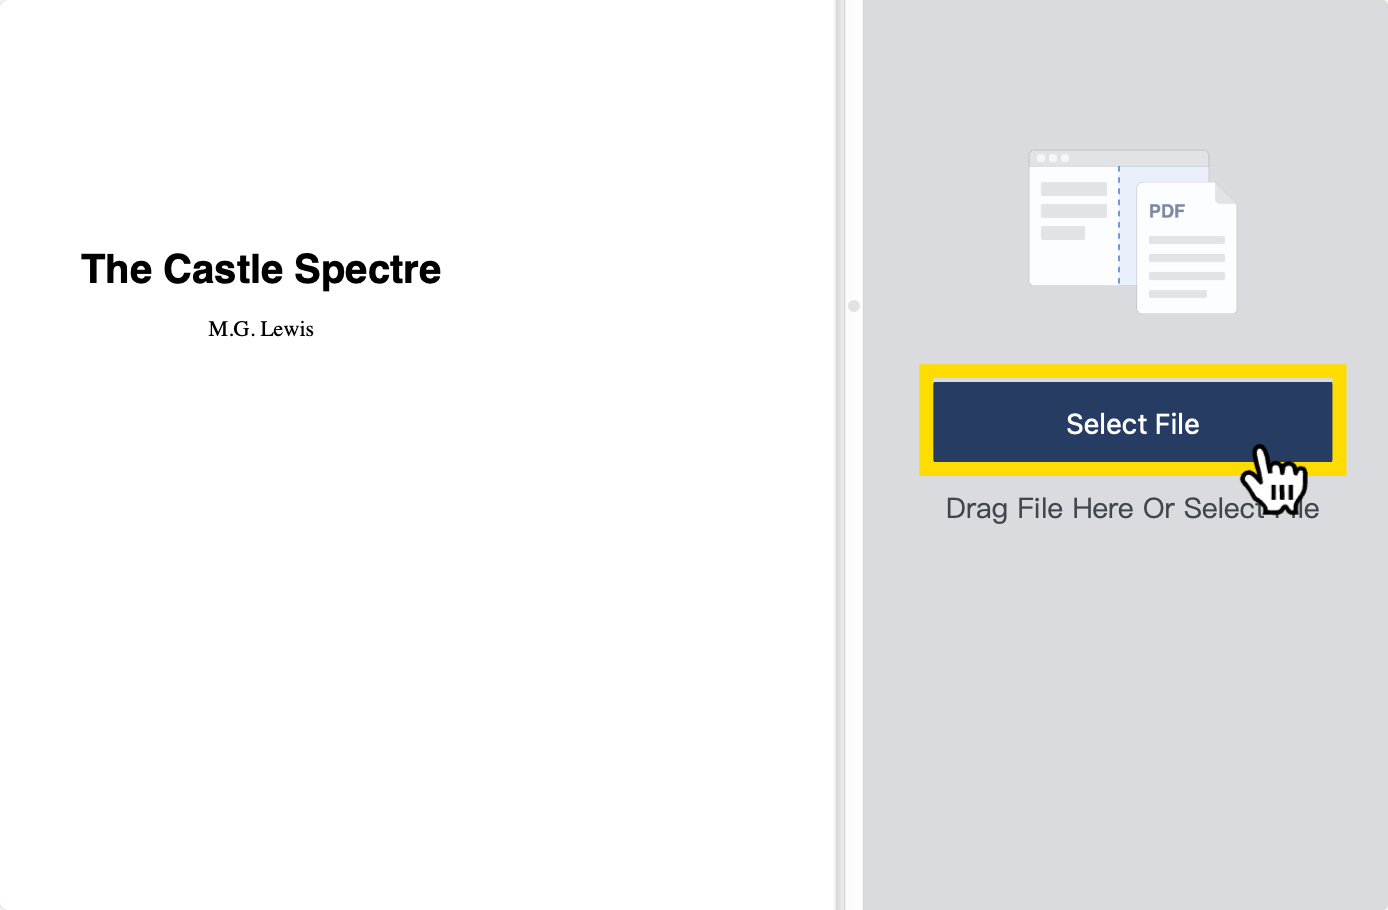
Step 4: Click "Split Screen"
Upload the second file you would like to compare it to.

Step 5: Adjust the Split
You can adjust the size of each window by dragging the vertical line that splits the two windows. Move it left or right to resize the windows as needed.
Step 6: Exit Split Screen Mode
To exit Split Screen mode, simply click the "Single View" icon under the "Properties" panel.
Troubleshooting Split Screen
If you’re having trouble using Split Screen on your Mac, here are some common issues and how to resolve them:
- Not seeing the Split Screen option: Some apps may not support Split Screen. Try a different app or update the app to ensure compatibility.
- Apps don’t fill the screen: Make sure both windows are resizable. Some apps, especially older ones, might not adjust well to Split Screen.
- Accidentally exiting Split Screen: If you exit by mistake, just follow the steps again to set up Split Screen.
Using Split Screen on your Mac is a simple and effective way to multitask and boost your productivity.
Whether you’re juggling two apps for work or comparing information for personal tasks, Split Screen helps you manage multiple tasks seamlessly.


 Free Download
  Free Download


 Support Chat